Airless on Drywall: Filling and Priming Plasterboard to Q3 and Q4
On a large drywall job, the finishing coat is where the hours disappear. Trowelling or rolling filler over every square metre of plasterboard to close the surface is slow and hard on the shoulders. A machine changes the maths: with a ready-mixed airless filler and the right setup you can lay an even skim over a whole room in a fraction of the time, then smooth it off by hand. This guide covers how to spray-fill and prime plasterboard to the German quality levels Q3 and Q4.
Why spray-apply filler on plasterboard?
The joints and screw heads (Q1–Q2) are still done the usual way with tape and a knife. The gain from spraying comes at the surface-wide stage, where large areas have to be skimmed to close the paper pores or level the whole face. Applying that material with an airless plastering and filler machine means one person keeps a wet edge moving across a ceiling or wall without constantly reloading a trowel, and the coat lands at a consistent thickness. The smoothing is then a pulling pass with a wide blade, not a build-up by hand.
Quality levels Q3 and Q4 — what they mean
German drywall finishing is graded Q1 to Q4. Q1 and Q2 cover the joints and fasteners. The two levels that usually call for a sprayed skim are:
- Q3 — a broader, surface-closing coat beyond the joints that fills the paper texture and open pores, suitable for most matt wall paints and medium textures.
- Q4 — a full-surface skim over the entire board face, the smoothest standard, used where glancing light, gloss paints or fine wall coverings would reveal any unevenness.
Which level a wall needs is set by the specification and the lighting, so confirm it before you start. The sprayed coat is the fast way to carry Q3 or Q4 across big areas evenly.
What you need: machine, material and tip
- Material: a ready-to-use, airless-rated filler or finishing compound. Use the manufacturer's data sheet for mixing (most spray fillers are supplied ready to use) and for the recommended tip range.
- Machine: an electric airless unit with enough flow for heavy material and large areas. GROG's electric machines run at 227 bar; higher flow — for example the GROG F5 at 10 L/min — keeps a wet edge moving on big ceilings, while the compact GROG F4L suits smaller rooms and single trades.
- Tip: filler is a heavy material and needs a large orifice. GROG electric machines accept large tips (up to 0.035–0.045 inch depending on model), which is the range heavy fillers want. Always follow the filler's data sheet for the exact tip size, and see our guide to which tip for which material.
Step 1 — Prepare the boards and the room
Finish the joints and fasteners to Q2 first and let them dry. Sand down any ridges so the sprayed skim starts from a flat base. Then mask thoroughly: sprayed filler produces overspray, so cover floors, windows, frames and anything that stays in the room, and protect adjacent trades. Good masking is the difference between a fast job and a long clean-up — our notes on reducing overspray apply directly here.
Step 2 — Spray the skim coat
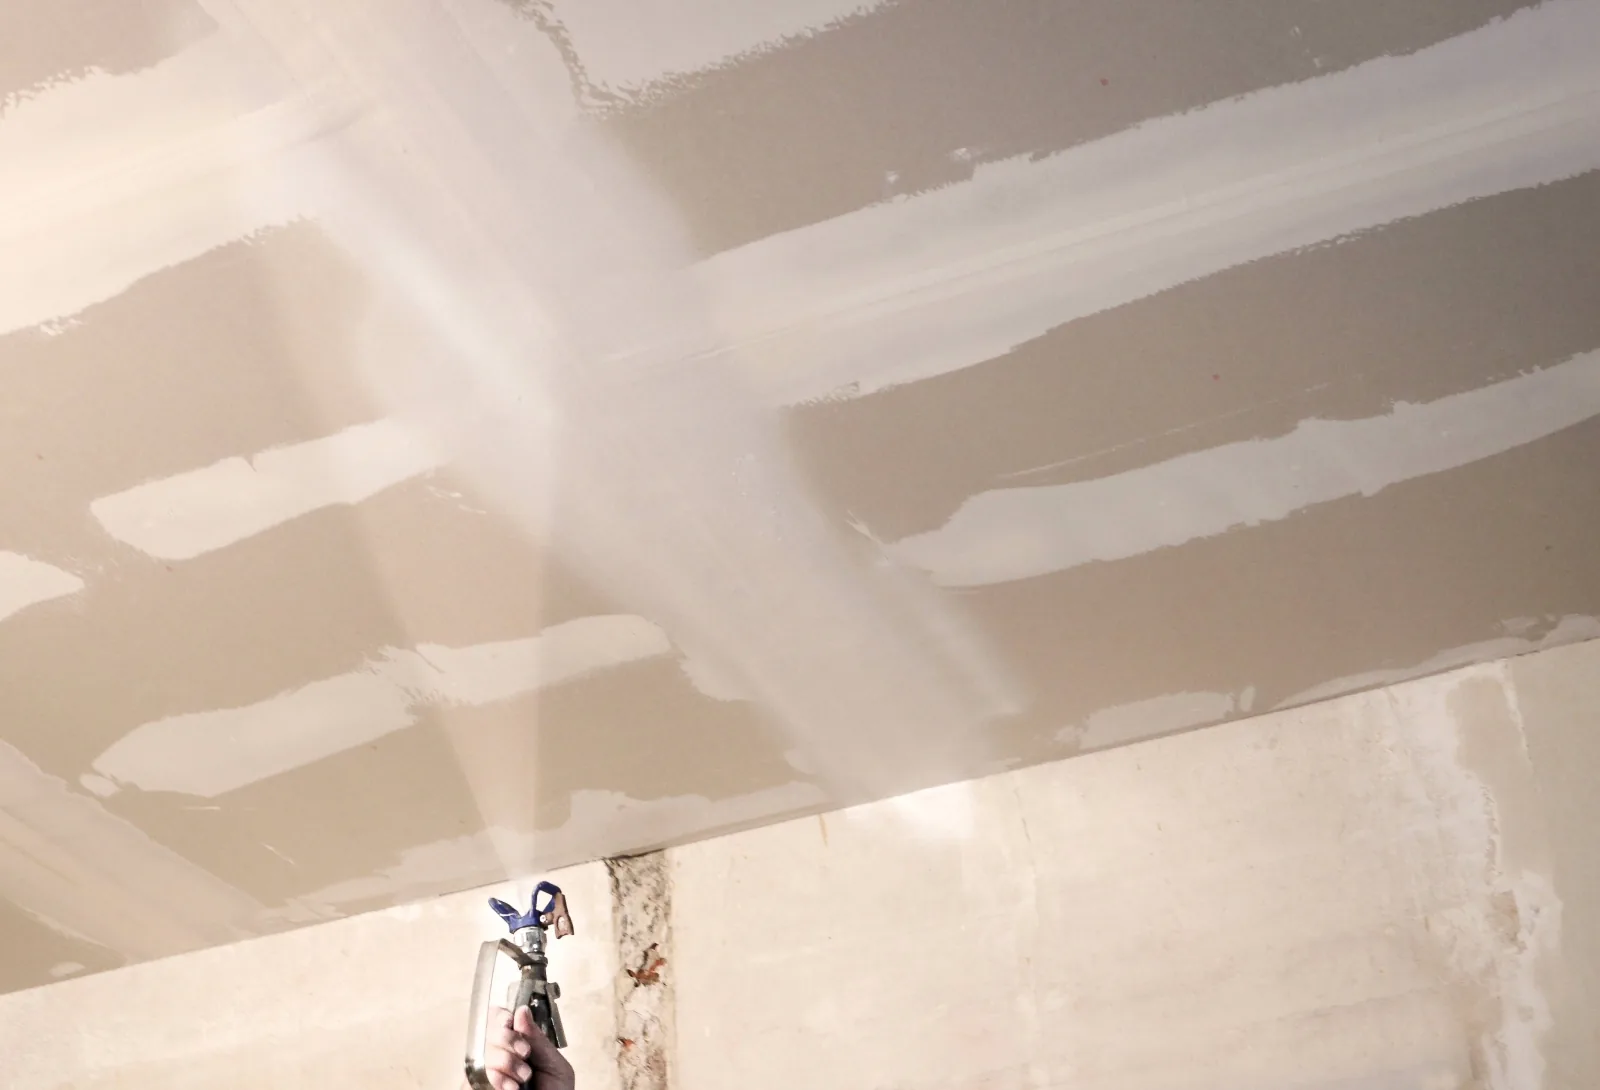
Prime the pump with the filler and test the pattern on a spare board or masked area. Hold the gun perpendicular to the surface and keep it moving at a steady speed and distance; let the fan do the work rather than pushing more material into one spot. Overlap each pass by roughly half so the coat builds evenly with no gaps or heavy bands. Work in a logical sequence — ceilings before walls, top to bottom — so you are never spraying over an area you have already smoothed.
Step 3 — Smooth, let dry, sand and dust off
Spraying lays the material; the surface quality comes from the smoothing. Pull the wet skim flat with a wide finishing blade or trowel while it is still workable, taking off the excess and leaving an even film. Let it dry fully, then sand to the grit the specification calls for and vacuum the dust off completely. For Q4, a second thin pass and a finer sand give the flattest result.
Step 4 — Prime the whole surface
A freshly skimmed board is highly absorbent and mixes porous filler with the less-porous board paper. Before the topcoat, prime the entire area with a suitable primer so the paint sits and dries evenly — skip this and you risk patchiness and flashing under certain light. The primer itself can be sprayed with the same machine after a thorough clean-out. See our primer spraying guide for settings.
Common mistakes
- Too little overlap — leaves bands and thin spots that show up after priming.
- Spraying before Q2 is dry or flat — ridges telegraph through the skim.
- Wrong tip — a tip too small for the filler strains the pump and gives a poor pattern.
- No priming before paint — uneven absorption between filler and board shows through the finish.
- Thin masking — filler overspray travels; protect the whole room.
FAQ
Can I spray filler with the same machine I use for paint?
Yes, provided the machine has the flow and pressure for heavy material and you fit a large enough tip. Clean it thoroughly between filler and paint. See our guide to the best airless machine for putty and plaster.
Does spraying replace the trowel for Q4?
No. Spraying applies the material quickly and evenly; the Q4 smoothness still comes from pulling the surface flat with a blade and sanding. Spraying saves the application time, not the finishing.
What tip size should I use?
Follow the filler's data sheet. Heavy fillers generally need a large tip, which is why machines that accept big orifices are suited to this work.
Conclusion
For joints alone, hand tools are fine. The moment a job means skimming whole ceilings and walls to Q3 or Q4, a machine turns a day of trowelling into a few controlled passes plus a smoothing stage. Match a high-flow electric airless machine to an airless-rated filler, mask well, keep the passes even and never skip the primer — and you get flat, paint-ready drywall in far less time. Browse the electric airless range to match a machine to your room sizes.