Airless Spray Pressure and Pattern Adjustment: How to Dial In a Clean Fan
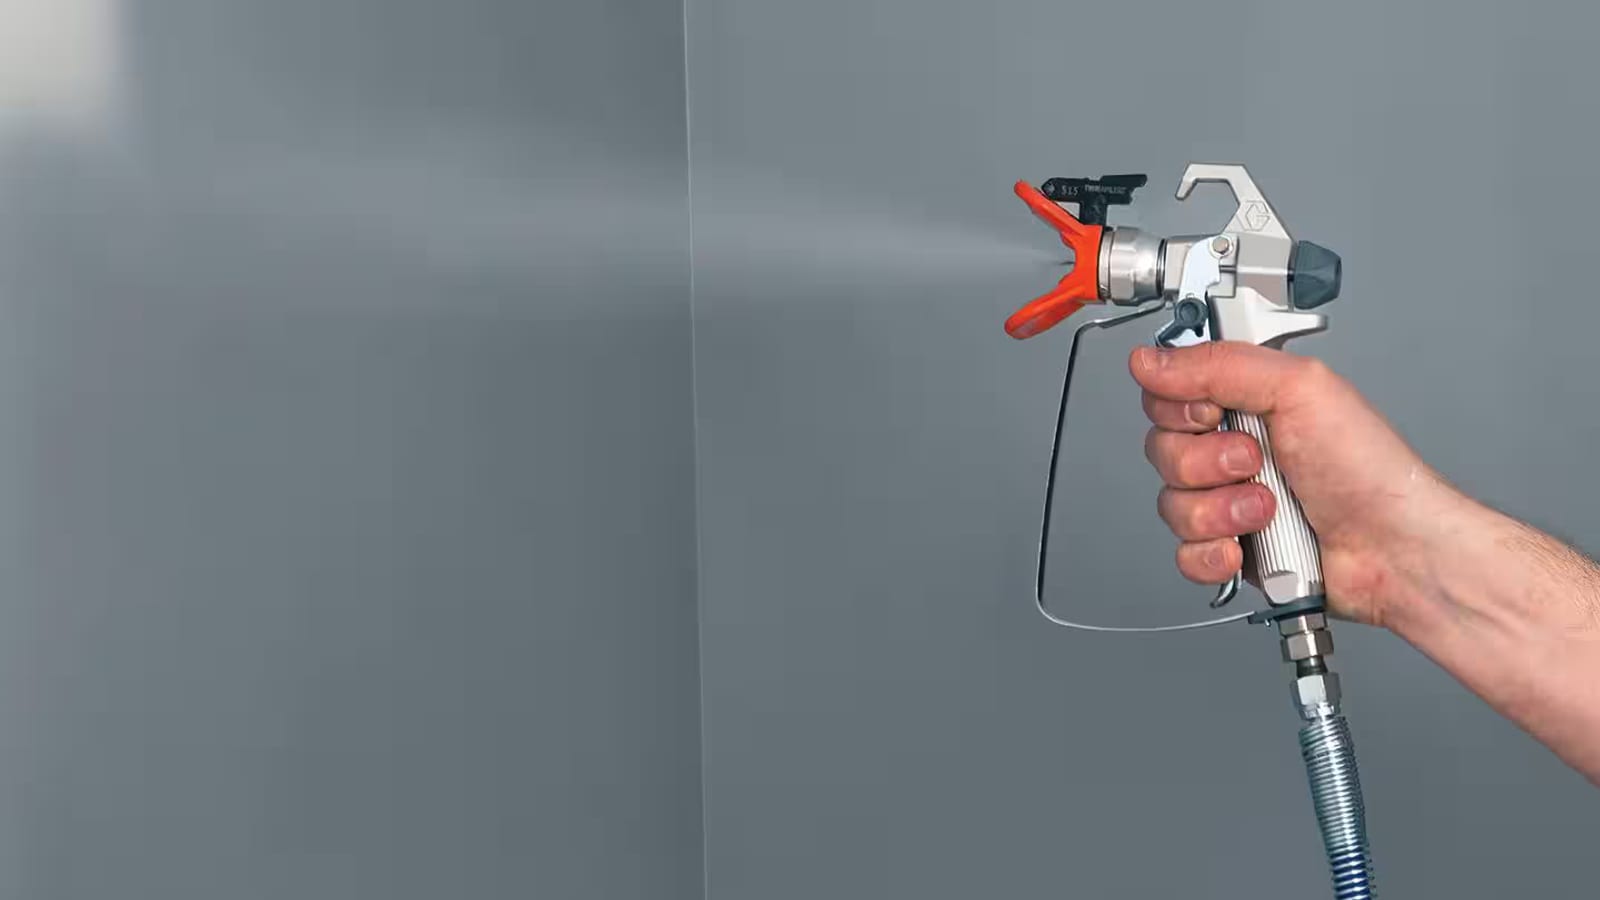
Pressure is the single control that most directly decides whether an airless coat looks professional or patchy. Set it correctly and the material breaks into a fine, even fan that lays down a smooth film in one pass. Set it too low and you get tails and heavy edges; set it too high and you throw paint into the air as overspray, waste material and wear the tip out faster. The goal is not maximum pressure — it is the lowest pressure that fully atomises the coating you are spraying.
This guide explains how to read the spray pattern the machine is producing, how to set pressure methodically instead of by guesswork, and how pressure, tip size and material all interact. The specific numbers on the dial always depend on your machine, your tip and the coating you are using, so treat the pattern in front of you — not a fixed pressure value — as the real feedback.
Why pressure decides the finish
An airless sprayer works by forcing coating through a small tip orifice at high pressure. That pressure is what tears the fluid apart into tiny droplets — a process called atomisation. Good atomisation produces a uniform cloud of fine droplets that merge on the surface into a flat, even film. Poor atomisation leaves larger droplets and an uneven edge, which shows up as texture, streaks or a ragged fan.
Because atomisation depends on pressure, the pattern the gun produces is a direct read-out of whether you have enough of it for the material. That makes the spray pattern your most important instrument — more reliable than the number on the dial, which means little on its own.
Reading the spray pattern
Before spraying the actual surface, trigger a test pass onto scrap cardboard, masking paper or an offcut. A correctly atomised pattern is an even, elongated oval: consistent coverage through the middle that tapers gradually and softly at both ends, with no heavy build-up along the edges.
Tails and fingers
The classic sign of too little pressure is tailing — heavy, dense streaks at the top and bottom ends of the fan, sometimes described as fingers. The material is not being fully broken up, so it lands as thick ribbons instead of a soft edge. Tails are the pattern telling you to raise the pressure — or that something else in the chain is wrong.
A clean, balanced fan
When the pattern fills out into a smooth oval with tapered ends and no tails, you have reached adequate atomisation. Stop there. Any pressure beyond the point where the pattern is already clean adds nothing to the finish; it only increases overspray, paint consumption and tip wear.
Setting pressure step by step
- Prime the sprayer and fit the correct tip for the material and the job, following your machine's manual.
- Turn the pressure control down to a low setting, then trigger a test pass onto scrap material.
- If the pattern shows tails or a narrow, broken fan, raise the pressure a small amount and test again.
- Repeat in small steps until the tails just disappear and the fan becomes an even oval with soft, tapered ends.
- Stop at that point. This is your lowest effective pressure — the setting that gives a clean finish with the least overspray and the slowest tip wear.
- Re-check the pattern periodically during the job; if tails reappear at a setting that worked earlier, treat it as a signal (see below) rather than simply winding the pressure up.
Working up from low pressure rather than starting high keeps you from over-pressurising out of habit. It also makes the machine, tip and material tell you exactly how much pressure the job actually needs. For a refresher on getting a clean, complete coat once pressure is right, see our guide to correct airless spraying technique.
Pressure, tip and material work together
Pressure never acts alone. Three things determine whether you can atomise a given coating: the pressure, the tip orifice size, and the material's own viscosity and temperature. If the tails will not clear no matter how far you raise the pressure — and especially if you are already near your machine's maximum — the problem is usually not pressure at all:
- Tip too large or worn: a larger orifice needs more pressure to atomise, and a worn tip degrades the pattern even at correct pressure. See when to replace an airless spray tip and choosing the right tip for the paint.
- Material too thick or too cold: heavier or cold coatings resist atomisation. Where the coating manufacturer's technical data sheet permits it, correct thinning or letting the material reach a workable temperature can solve tails that pressure cannot.
- Wrong tip for the coating: thick, high-build materials and thin finishes call for different orifice sizes. Matching the tip to the material is what lets you spray at a sensible pressure in the first place.
In other words, chasing a clean fan purely with the pressure dial is a mistake. The right move is to match tip and material to the job, then fine-tune pressure to the lowest setting that atomises cleanly.
Common pressure mistakes
- Spraying at maximum pressure by default. This is the most expensive habit in airless work: more overspray, more wasted paint, faster tip wear and no gain in finish quality once atomisation is already complete.
- Raising pressure to compensate for a worn tip. It masks the symptom briefly while accelerating overspray and wear. A worn tip should be replaced, not out-pressured.
- Ignoring the material. Cold or over-thick paint will tail at any pressure your machine can safely produce; the fix is the material, within the coating manufacturer's limits.
- Never running a test pass. The pattern on scrap paper takes seconds and prevents defects that cost far longer to sand back and recoat. When problems persist, our airless troubleshooting guide covers the wider set of causes.
Conclusion
Correct pressure is the setting that fully atomises your coating and nothing more. Read the spray pattern rather than the dial: work up from low pressure until the tails disappear and the fan becomes a soft, even oval, then stop. If tails persist near your machine's maximum, look to the tip and the material instead of forcing more pressure. Always work within the pressure limits in your sprayer's manual and the coating manufacturer's data sheet — that combination, not a single fixed number, is what delivers a clean finish with the least waste. Ready to match a machine to your work? Browse the range of airless sprayers.